This is the first of a 3-part series on how I converted our tiny (8′ x 12′) home office into a nursery. In addition to the limited floorspace, this room came with a major design challenge: Three walls of windows (seven windows total). I mean, I love natural light as much as anyone, but SEVEN windows? In a nursery?!!
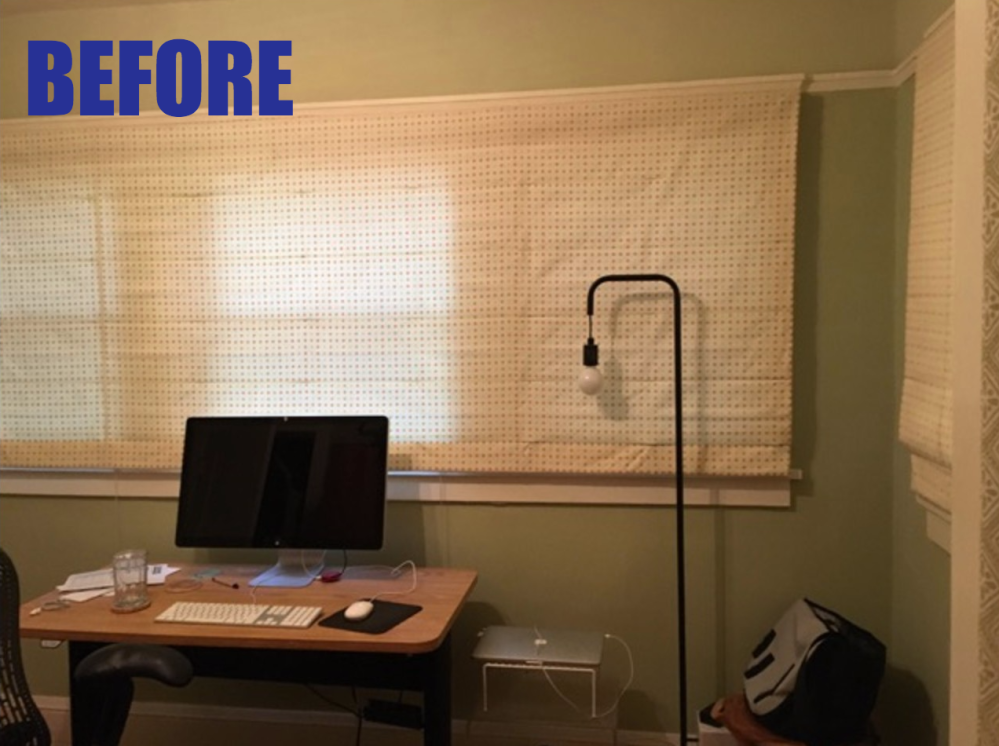
The room came equipped with three large, custom roman shades in a light polka dot fabric that was both unattractive and ineffective at blocking out light. As anyone with kids can tell you, light is the enemy to getting good sleep. (Actually, people without kids could tell you that too.)
I looked into getting custom-made roman shades to replace the old ones, but the cost was over $1,000 per shade, so after passing out when I saw the estimate, I decided I could definitely DIY this. Have I ever made or re-covered roman shades before? No! But that’s never stopped me, and that’s what the Internet is for, anyway.
The existing shades were in good, working condition, so I decided to create coverings for them using canvas duck fabric and a layer of blackout liner. Because I had soooo many windows to cover, I needed 13 yards of 54″ wide curtain fabric, plus 11 yards of blackout liner.
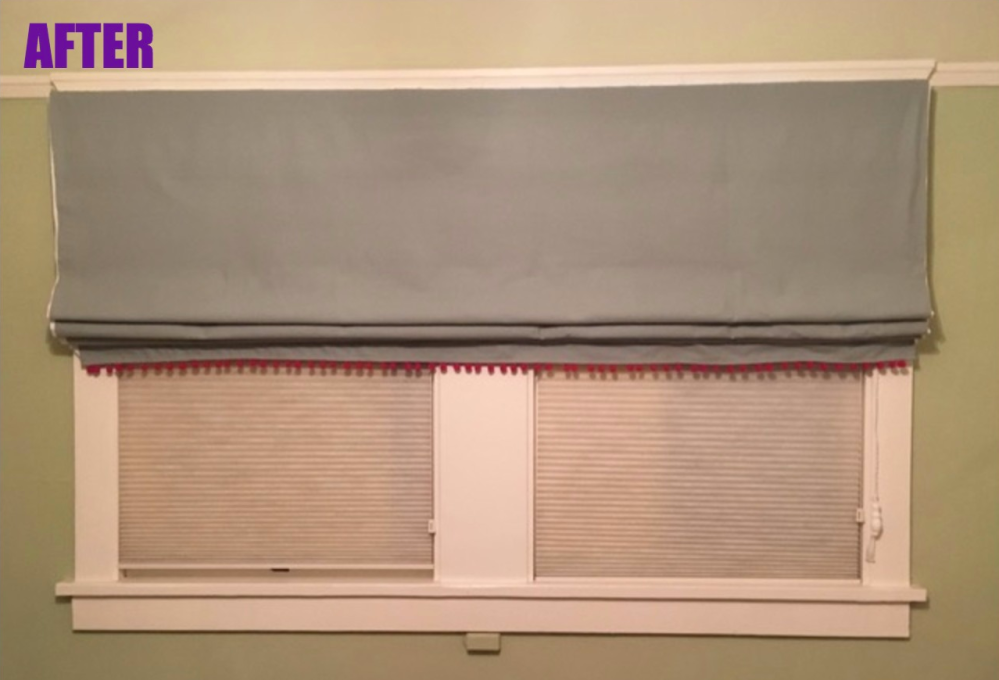
I measured each roman shade, and sewed together panels of fabric to create a giant, hemmed shade for each, making sure I made the shades 3-4 inches longer than the height of the existing roman shade. I then sewed in blackout liner, and finished each shade with a pom-pom trim. I used an online tutorial like this one (or this one) to figure out the best way to sew these giant lined panels. The only difference between my application and a normal curtain was I did not need to sew a header or a such a wide bottom hem. I only needed a 1/2″ bottom hem.
When I had my giant fabric panels done, I tacked each panel on the header of the existing shades using dressmaker pins, and hot glued them in place along the top of the header. Finally, I dabbed dots of hot glue to affix the back of the fabric to the front of the existing shades, using the stitches where the existing shades were sewn to the drawstring hardware as guides.
Total cost: Just under $400 for all supplies (13 yards of cotton duck, 11 yards of blackout fabric, 10 yards of trim, thread, dressmaker pins, and lots of hot glue). I saved about $3,000 doing this myself and working with the existing shades vs. going out and ordering custom replacements.
Time: 3-4 weeks. The thing about making curtains is, you’re going to be spending many, many hours ironing a very large piece of fabric. It is a PROCESS!

One Comment Add yours